How to make a Slip Knot in Crochet – Step by Step
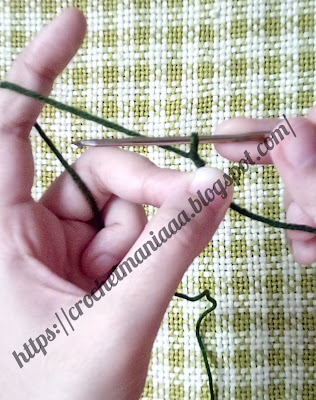 |
| Slip-Knot in Crochet |
Get Started:
1: First of all, you need a crochet
hook and a yarn. Place the yarn over your index finger and pinch the yarn end between your hand's middle finger and
thumb (just like you pinch your younger sister. 😁) Hold the other end of the yarn with your ring finger and pinkie (as
shown in pic 1.)
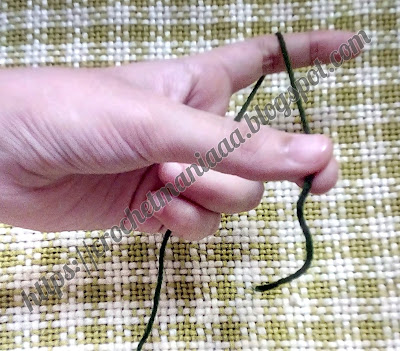 |
| Slip-Knot • Step 1 |
2: Secondly, pick up your crochet hook place
it under the yarn and twist it once (like pic 2a & b.)
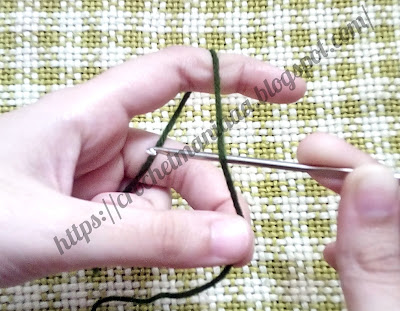 |
| Slip-Knot • Step 2 (a) |
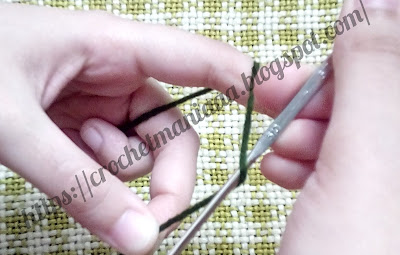 |
| Slip-Knot • Step 2 (b) |
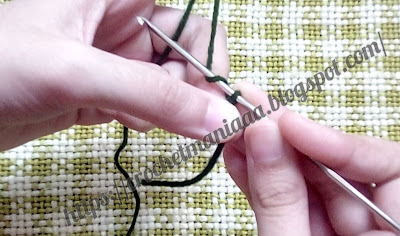
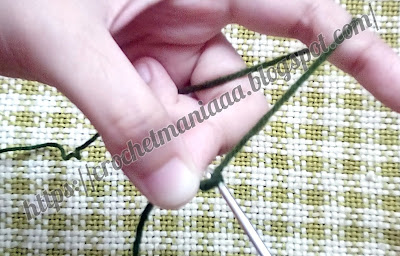
3: Then, yarn over (as in pic: 3a.) and
draw up a loop (pic: 3b).
 |
| Slip-Knot • Step 3 (a) |
 |
| Slip-Knot • Step 3 (b) |
 |
| Slip-Knot |
Congratulations! You did it! Finally you’ve made
your first slip knot, and now you’ve stepped in the world of crochet. 🤗
Thanks
for visiting my site.😊
Almighty
bless you.😇

Post a Comment